Making a bowl from a cookie
If you give a moose or a mouse a cookie or a muffin he may just want to turn it into a bowl. It has been too long since my last posting but I promise to make this one worth your while. If you like the salad bowls below and have only scrap wood around you, this is the perfect project. It takes a while but it is tons of fun and will push your skills. This can be done with a single board (which I recommend for practice) but segmentation allows you to avoid end grain turning and gives you and endless number of combinations in color pattern and style (which is where most of the creative fun is).

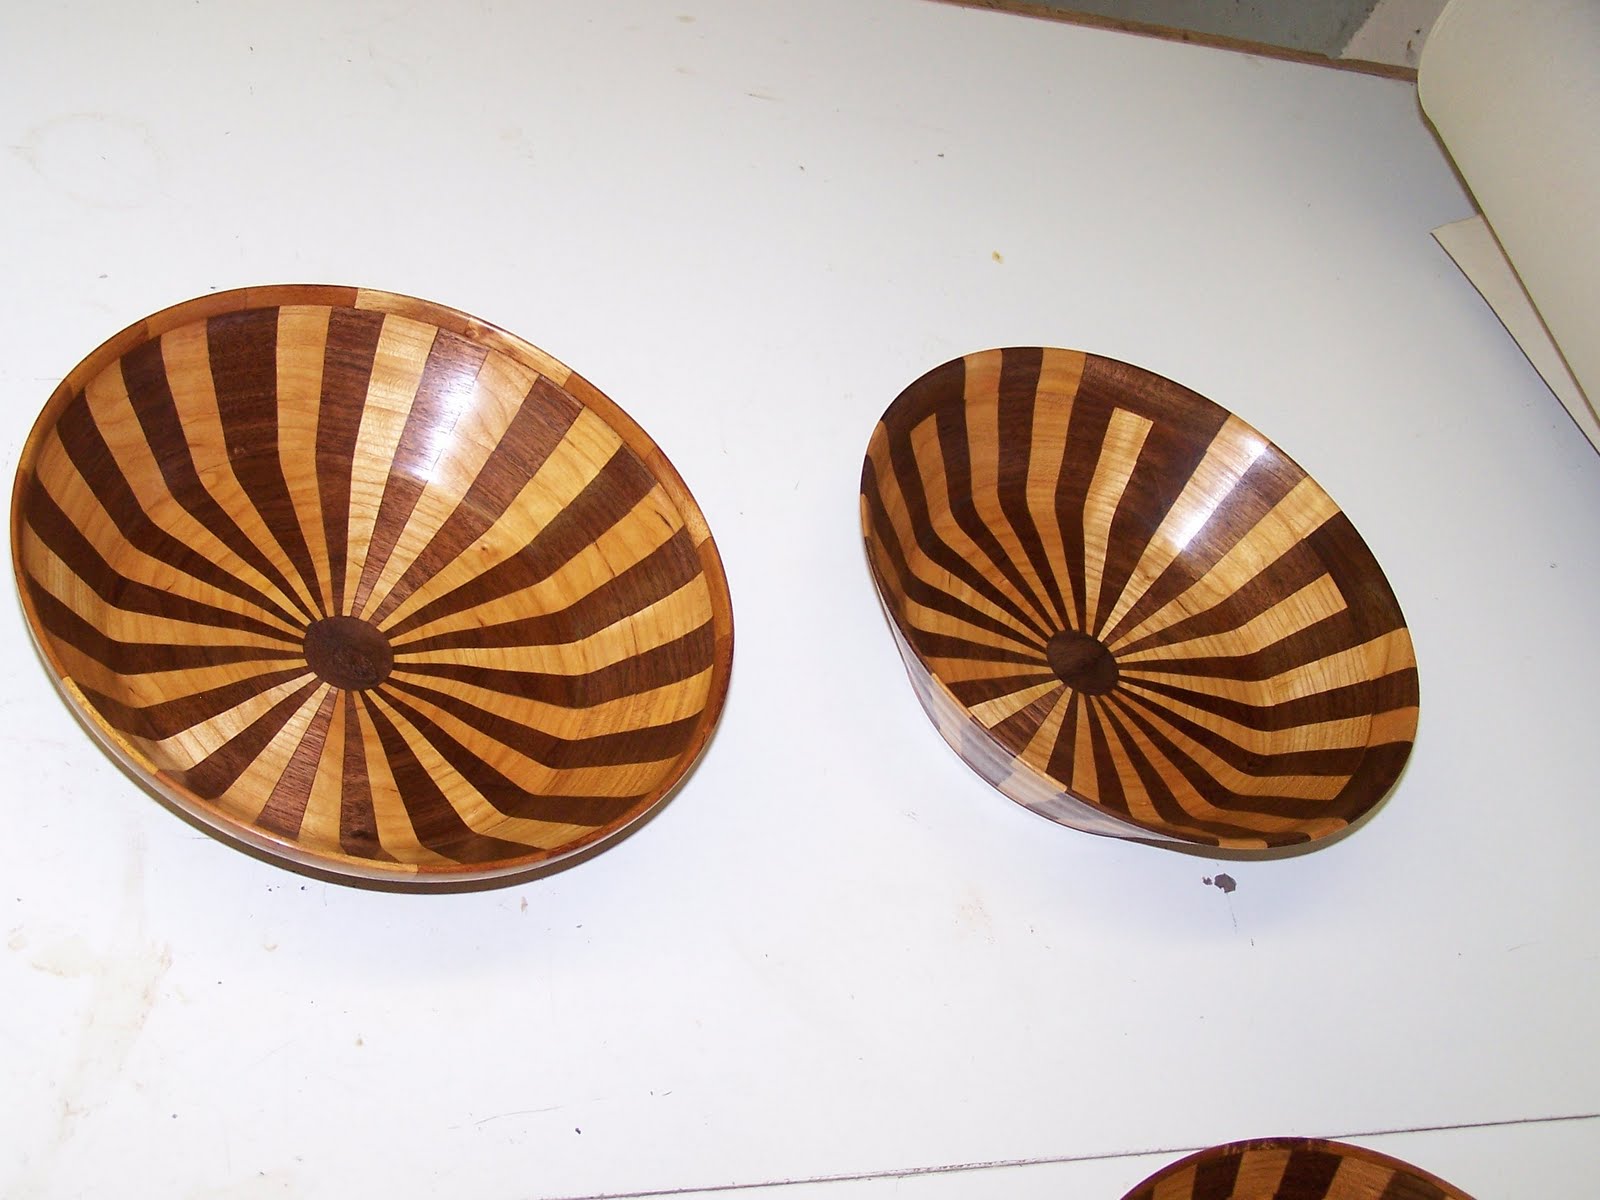
So if you like these Cheery and Walnut bowls, lets get started.
Things you will need:
Screw clamps (can be ordered at Grangers, pack of 10 for cheep)
Different colored material in uniform width and depth (length is not important but that you have enough is).
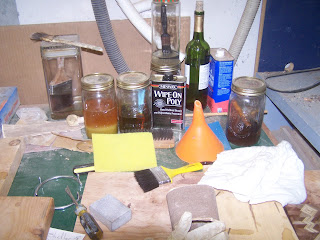
A very thick pasty glue, not a thinner extended set up time glue.
Varying sizes of hole saws (not absolutely necessary but speeds things up).
Must have a face mask, full shield, absolutely.
Large jaw chuck 4 to 6 inch
Face plates for each cookie
OK, so let’s get started
The shape is somewhat pre-determined on this project. You are making salad bowls and the angle of the bowl height is predetermined as you will see later. What you can determine is the pattern and look of possible bowls. You do this by deciding what pattern to make the cookies. The objective is to make cookies out of segmented pieces of wood that then will be used in combination to make bowls. So we begin with making cookies like those below.

Remember you have 360 degrees to work with so count with care. See in the pic my cut list on the vertical board. For example one cookie may consist of 9 slices of 10 degree pie and 9 slices of 30 degree pie as the one closest to you in the pic above. The 10 degree pieces are made up of 2 five degree cuts to get the 10 degrees and likewise 2 fifteen degree cuts to get the 30 degrees. So 9X10 is 90 plus 9X30 is 270 gives you the 360 needed to make the circle. I have used many combinations of degrees to get my 360 including non uniform random patterns (applying the fibinachy sequence here can be fun for all you math heads). The cookie on the far right is of scrap. Always make an extra one of scrap to take to the next step first. Better to practice on it first. If it makes it all the way through the process you can give it to your mother in law, she will love you for it.
 Making a 360 perfect is always problematic if not completely unattainable. All I can say is make your miter cuts as accurate as possible weather you use chop saw or table saw. Keep this in mind, the tighter and cleaner your joins the less wood will be flying around the room when you turn (full face shield is a must). Also remember that excessive clamping will not make up for bad joinery, just because you squeeze does not mean they are tight. One way to insure this is to do the half ring program. Make your cookies a half ring at a time so that the slop (the less than 180 or the more than 180) end up in the middle with a nail or round dowel rod to pivot on. Then sand or cut off to a proper 180 middle, then glue up the half’s into a whole. I use this a lot when the pattern will allow. As you can see from the above some of these patterns would not because the number of degrees did not allow for 180 (in other words, there is no middle point that cuts the cookie in half). Also when you trim the middle you lose conformity with the other cookies you might not trim in the exact same way. This will bite you in the ass later when you swap out some cookie rings for other cookies rings but more on that later. For now just know that the more they are similar with each segment uniform not only to the other segments in the cookie but each cookie similar to the other cookies, the more they will look like you actually knew what you were doing when you made them (which is nice but not required, remember you can always go the random route which hides a multitude of sin).
The next step is mounting the cookies to the lathe. Actually simple and straight forward first we mount a block of MDF to a face plate (honestly the MDF never leaves my face plates. I glue more on as I use it and turn it off) and then mount the face plate to the cookie. This allows us to get it on the lathe to clean up the other side of the cookie and mount the bowl bottom which will double as the mounting block for our chuck and triple as the center of the hub of the interior of the bowl and provide a forth benefit of keeping the bowl bottom from shifting around in time by being glued to 5 to 6 inches of stable material.

Above are the cookies being readied with the walnut bottoms on hand prepared with a hole saw.We mount these face plates to prepare the other side on the lathe to except the walnut bottoms. It is vital that the entire surface be scraped and sanded flat. Use a straight edge to help. I use the sanding block made of Formica counter top. This is your only chance to make the bottoms of the rings you will harvest later flat. If they are not flat they will not sit properly on one another later in the process. 
Now we are ready to mount the bottom by first cutting a uniform hole to accept our tendon which we will make in a portion of the walnut bottom. The uniform hole can be done with a hole saw as shown.

Now we are ready to make our walnut bottoms with its tendon

As the pic says, I hope you are wearing eye protection. Using a hole saw I start the process and make a tendon that fits the hole in the cookie precisely. Remember that any slop in this fit will be very evident and visible in the bottom of the bowl.

Now we are ready to mount to the cookie and cut away the MDF and face plate
Removing the face plate we can then prepare what will be the interior of the bowl by scraping and sanding perfectly flat and smooth the face plate side of the cookie. Again much care needs to be taken to make sure it is flat or it will show up when you try to put another ring on top of it.

The above is the goal, to have the bottom used as a mounting block for the chuck so that we can begin harvesting rings by parting them from the interior of the bowl.
Here we have a cookie, mounted in the chuck, the tendon of the bottom seen in the center of the cookie. Looks like a nice fit. Now the parting tool. Lots of parting with this project. Here is where the face shield is an absolute. You can not know if every joint is tight, so wear it. The idea here is to harvest rings that will fit on top of each other because they are cut on the bias or angle. Set a 45 degree angle on the tool rest to make sure your cut is consistent. Less than 45 and you will get into trouble with wall thickness. Allow yourself at least half an inch or more in the distance between rings, which will be your wall thickness before you turn. You will need all the room you can get to fudge the patterns to make them look good and consistent in the final product so thickness now will pay off later, but not to thick or you will be making a plate not a bowl, right?
A quick word about parting. Wear your face shield. I use at lease two parting tools. One used for cutting the other in water cooling. This process generates a lot of heat. Don’t let your tools over heat, also keep them sharp. The sharper your tools are the less you will have a problem with heat. Watch constantly for bad joints and pieces that want to spin off (bad joints can be treated with super glue on the spot). Most of the time bad joins will reveal themselves more through the sound of the turning than sight. Turn slow, 500 to 900 tops. At this point you also have another alternative for cutting and harvesting rings, namely the band saw. You can if you choose put your band saw bed at a 45 degree angle and cut your rings that way instead of on the lathe. Of course you will have the entry scar from where you entered the particular ring but with gluing that can be dealt with. It is a much safer, easier way to handle it although you will have the glue line from entry. Some have dealt with the glue line by cutting the rings off the half circle or half cookie which is another way of doing it, however I find it difficult to glue together two half’s of a ring that has a 45 degree surface and it makes making the surfaces perfectly smooth and flat problematic. I have used both ways and both have worked, still there are many ways to accomplish the same result; this is just the one that I currently feel the most comfortable with.

So here is what we are looking for, rings at a 45 degree so that the bottoms will fit on the top of the previous ring.

Off the lathe they should look like this

Stacked properly they should begin to take your salad bowl shape

Now this is where the fun really begins.
What would happen if……

… we swapped rings?
Played with each combination?
What might happen?
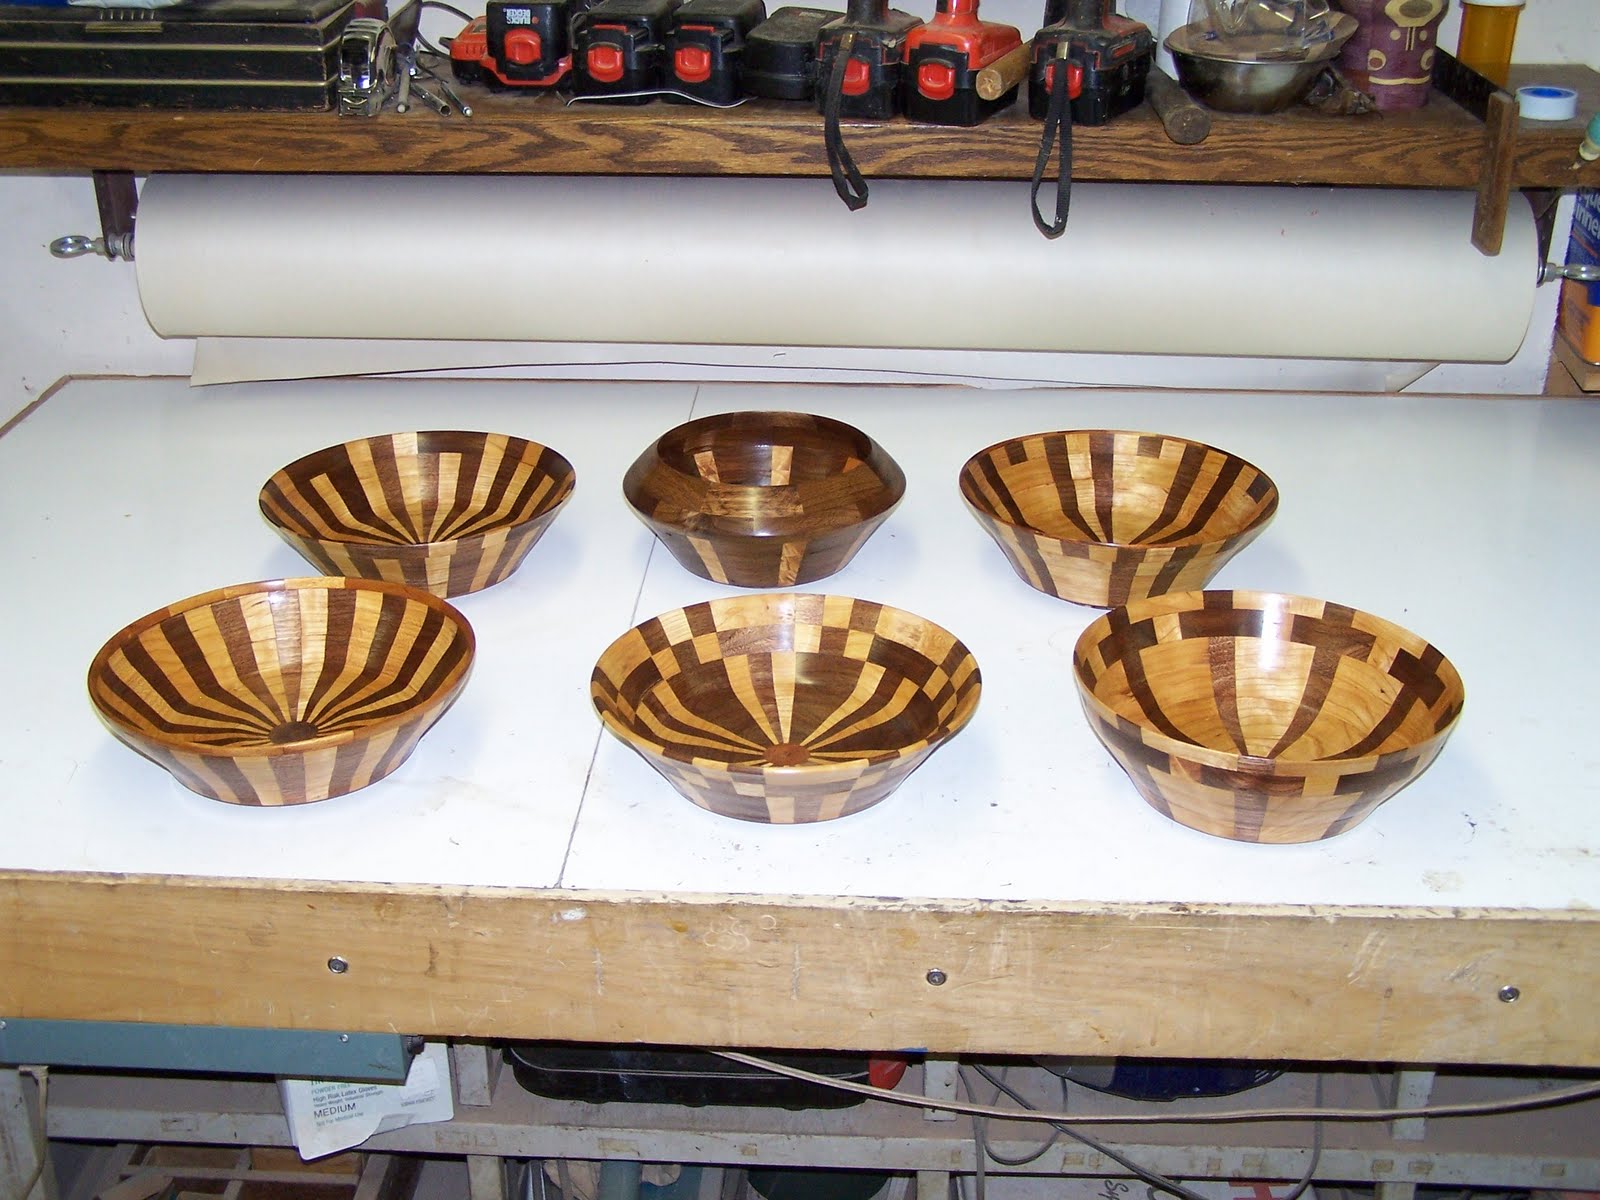
Well for one thing you would have a blast, but remember you can only swap if you have been very attentive to each angle being 45 degrees and each cookie the same diameter and each ring in that cookie the same interior and exterior diameter and thickness both on the bottom and top. It is a lot to keep track of but here is where is pays off, complex patterns that are simple to form. And what is the down side? What if you mess up a bowl different from the rest? Still you can rotate the patterns of the same cookie and they will fit to get a great look or try a random look. Worst case you can always give it to your mother in law, right?
The turning from here is pretty basic. After just make a jig to flip and finish the bottoms away from the chuck mount look and more into the bowl bottom look, sign and date always even if it is a sharpie. Your kids will appreciate it.
The pics below are how my 6 turned out. Notice that with close inspection the patterns are not perfect but merely close. The practice bowl never made it to finishing. It is in more pieces than I care to mention scattered across my shop floor the victim of bad joinery.
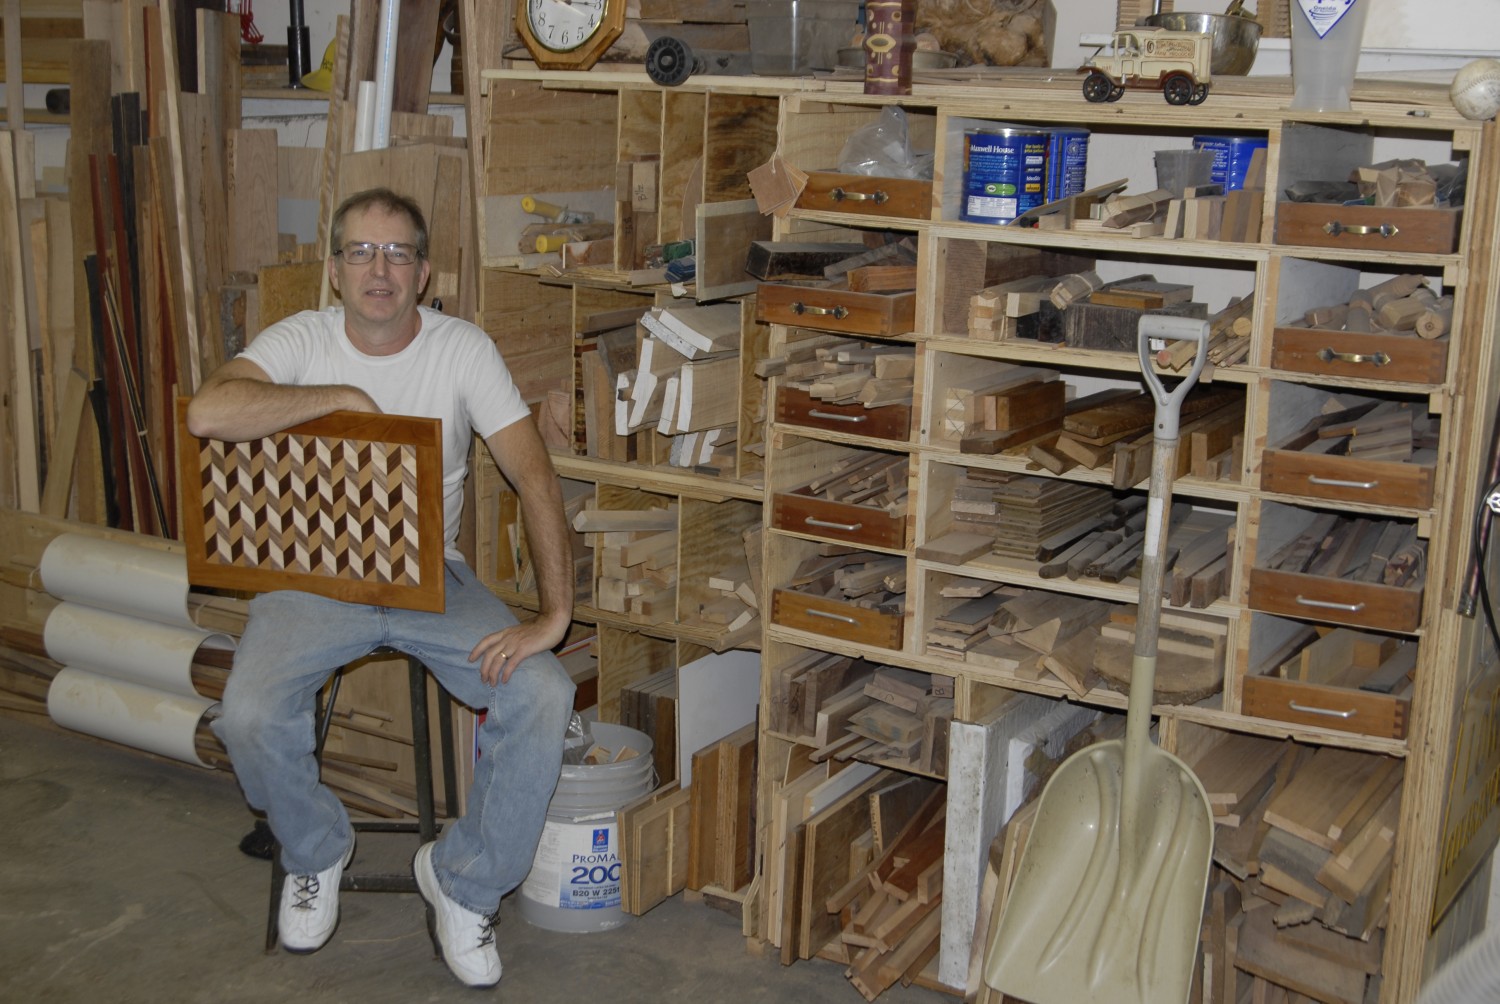
Having fun on
My Grandfathers Lathe
Steve


 Making a bowl or vase from a cutting board technique
 Mark them up with the sizes of your rings making sure to leave enough room for the blade width.