Jigs
Jig making is an essential part of wood art. Your designs will only be as tight as your jigs will allow and your ability to use them. Jigs also greatly increase your accuracy in design and safety by keeping your fingers away from the blade. It may surprise you how simple and easy to make my jigs are.
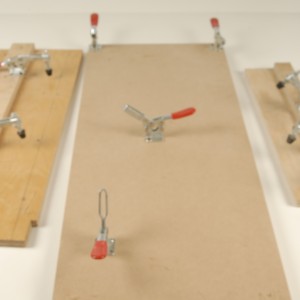
Ripping jig assortment
Here is a sample of ripping jigs. Some are for specialized cuts but the center one can accommodate almost any shape and size. Below is one of my favorite, a simple sheet of plywood or MDF with hold down clamps located where ever I need them to be. Hold down clamps are an essential part of jig making and the multi generational method. I have them for sale on the ‘stuff for sale’ page for much less than most would be able to buy them.
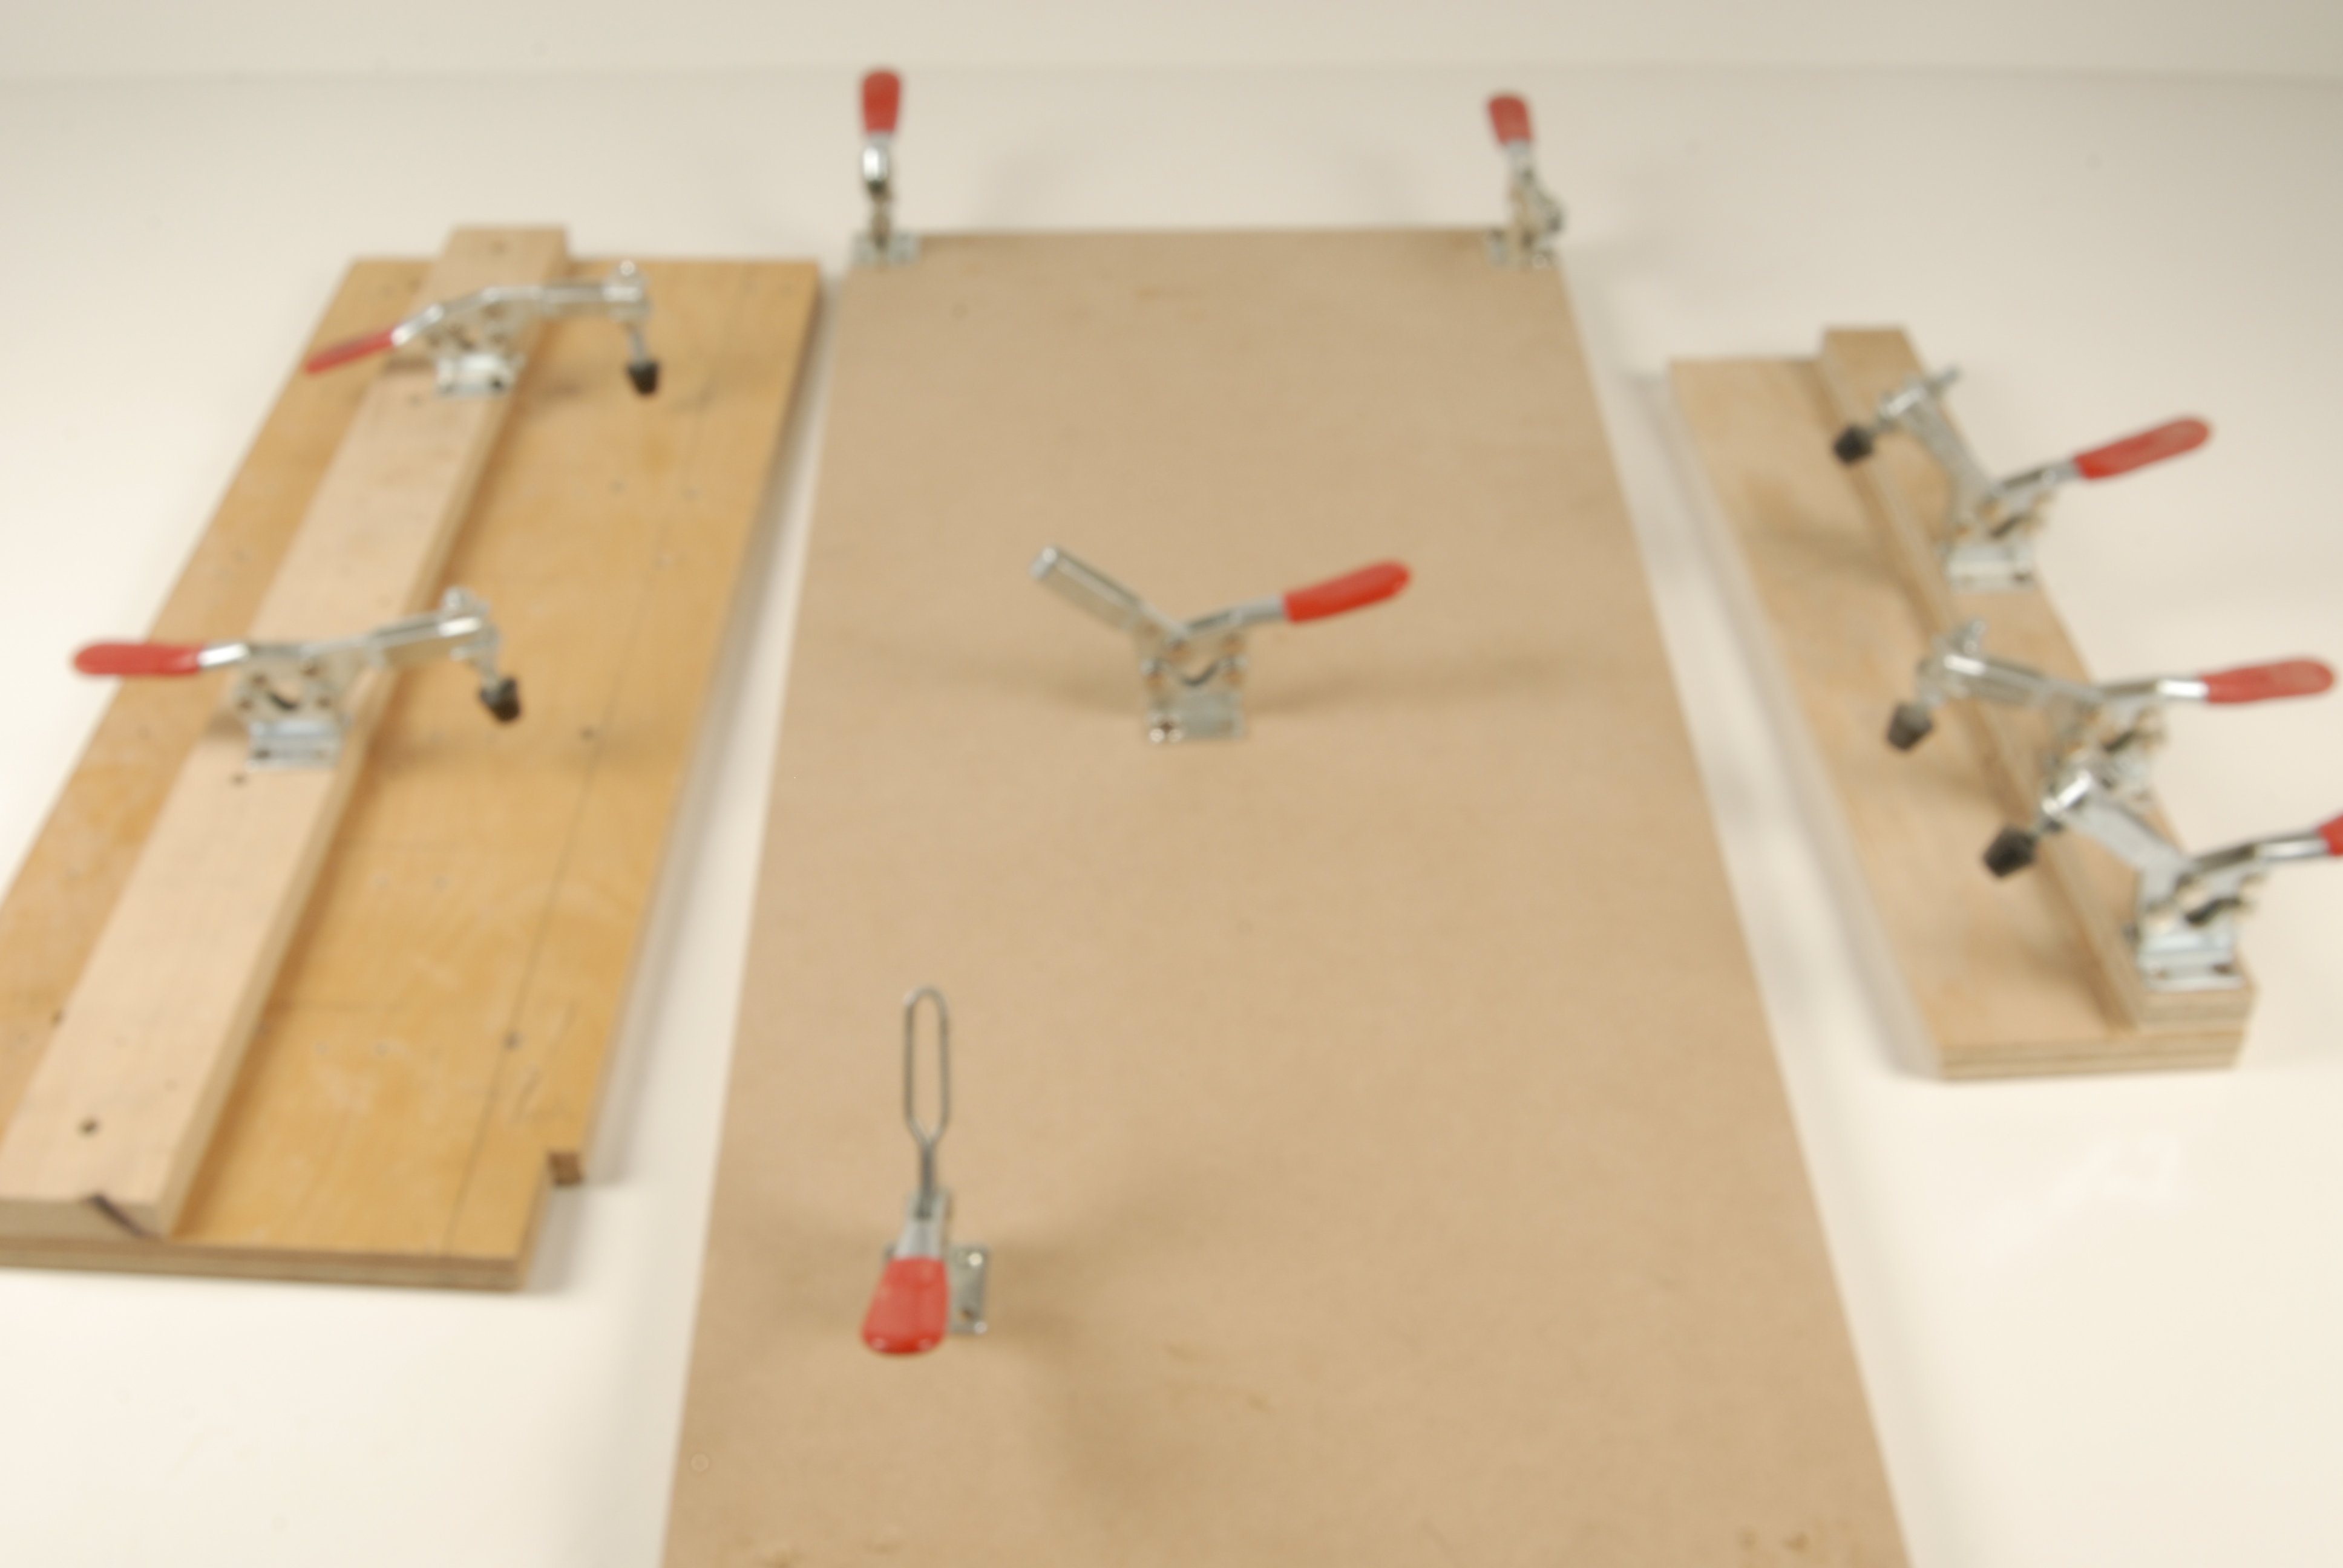
a favorite
The first order of events is to insure your ripping fence will not move by clamping it firmly in place. Then we cut an eight inch or so off the edge of our jig to within an inch or so of its bottom. Since our fence will not be moving we know precisely where the blade will pass in relation to the jig, ie: its edge.
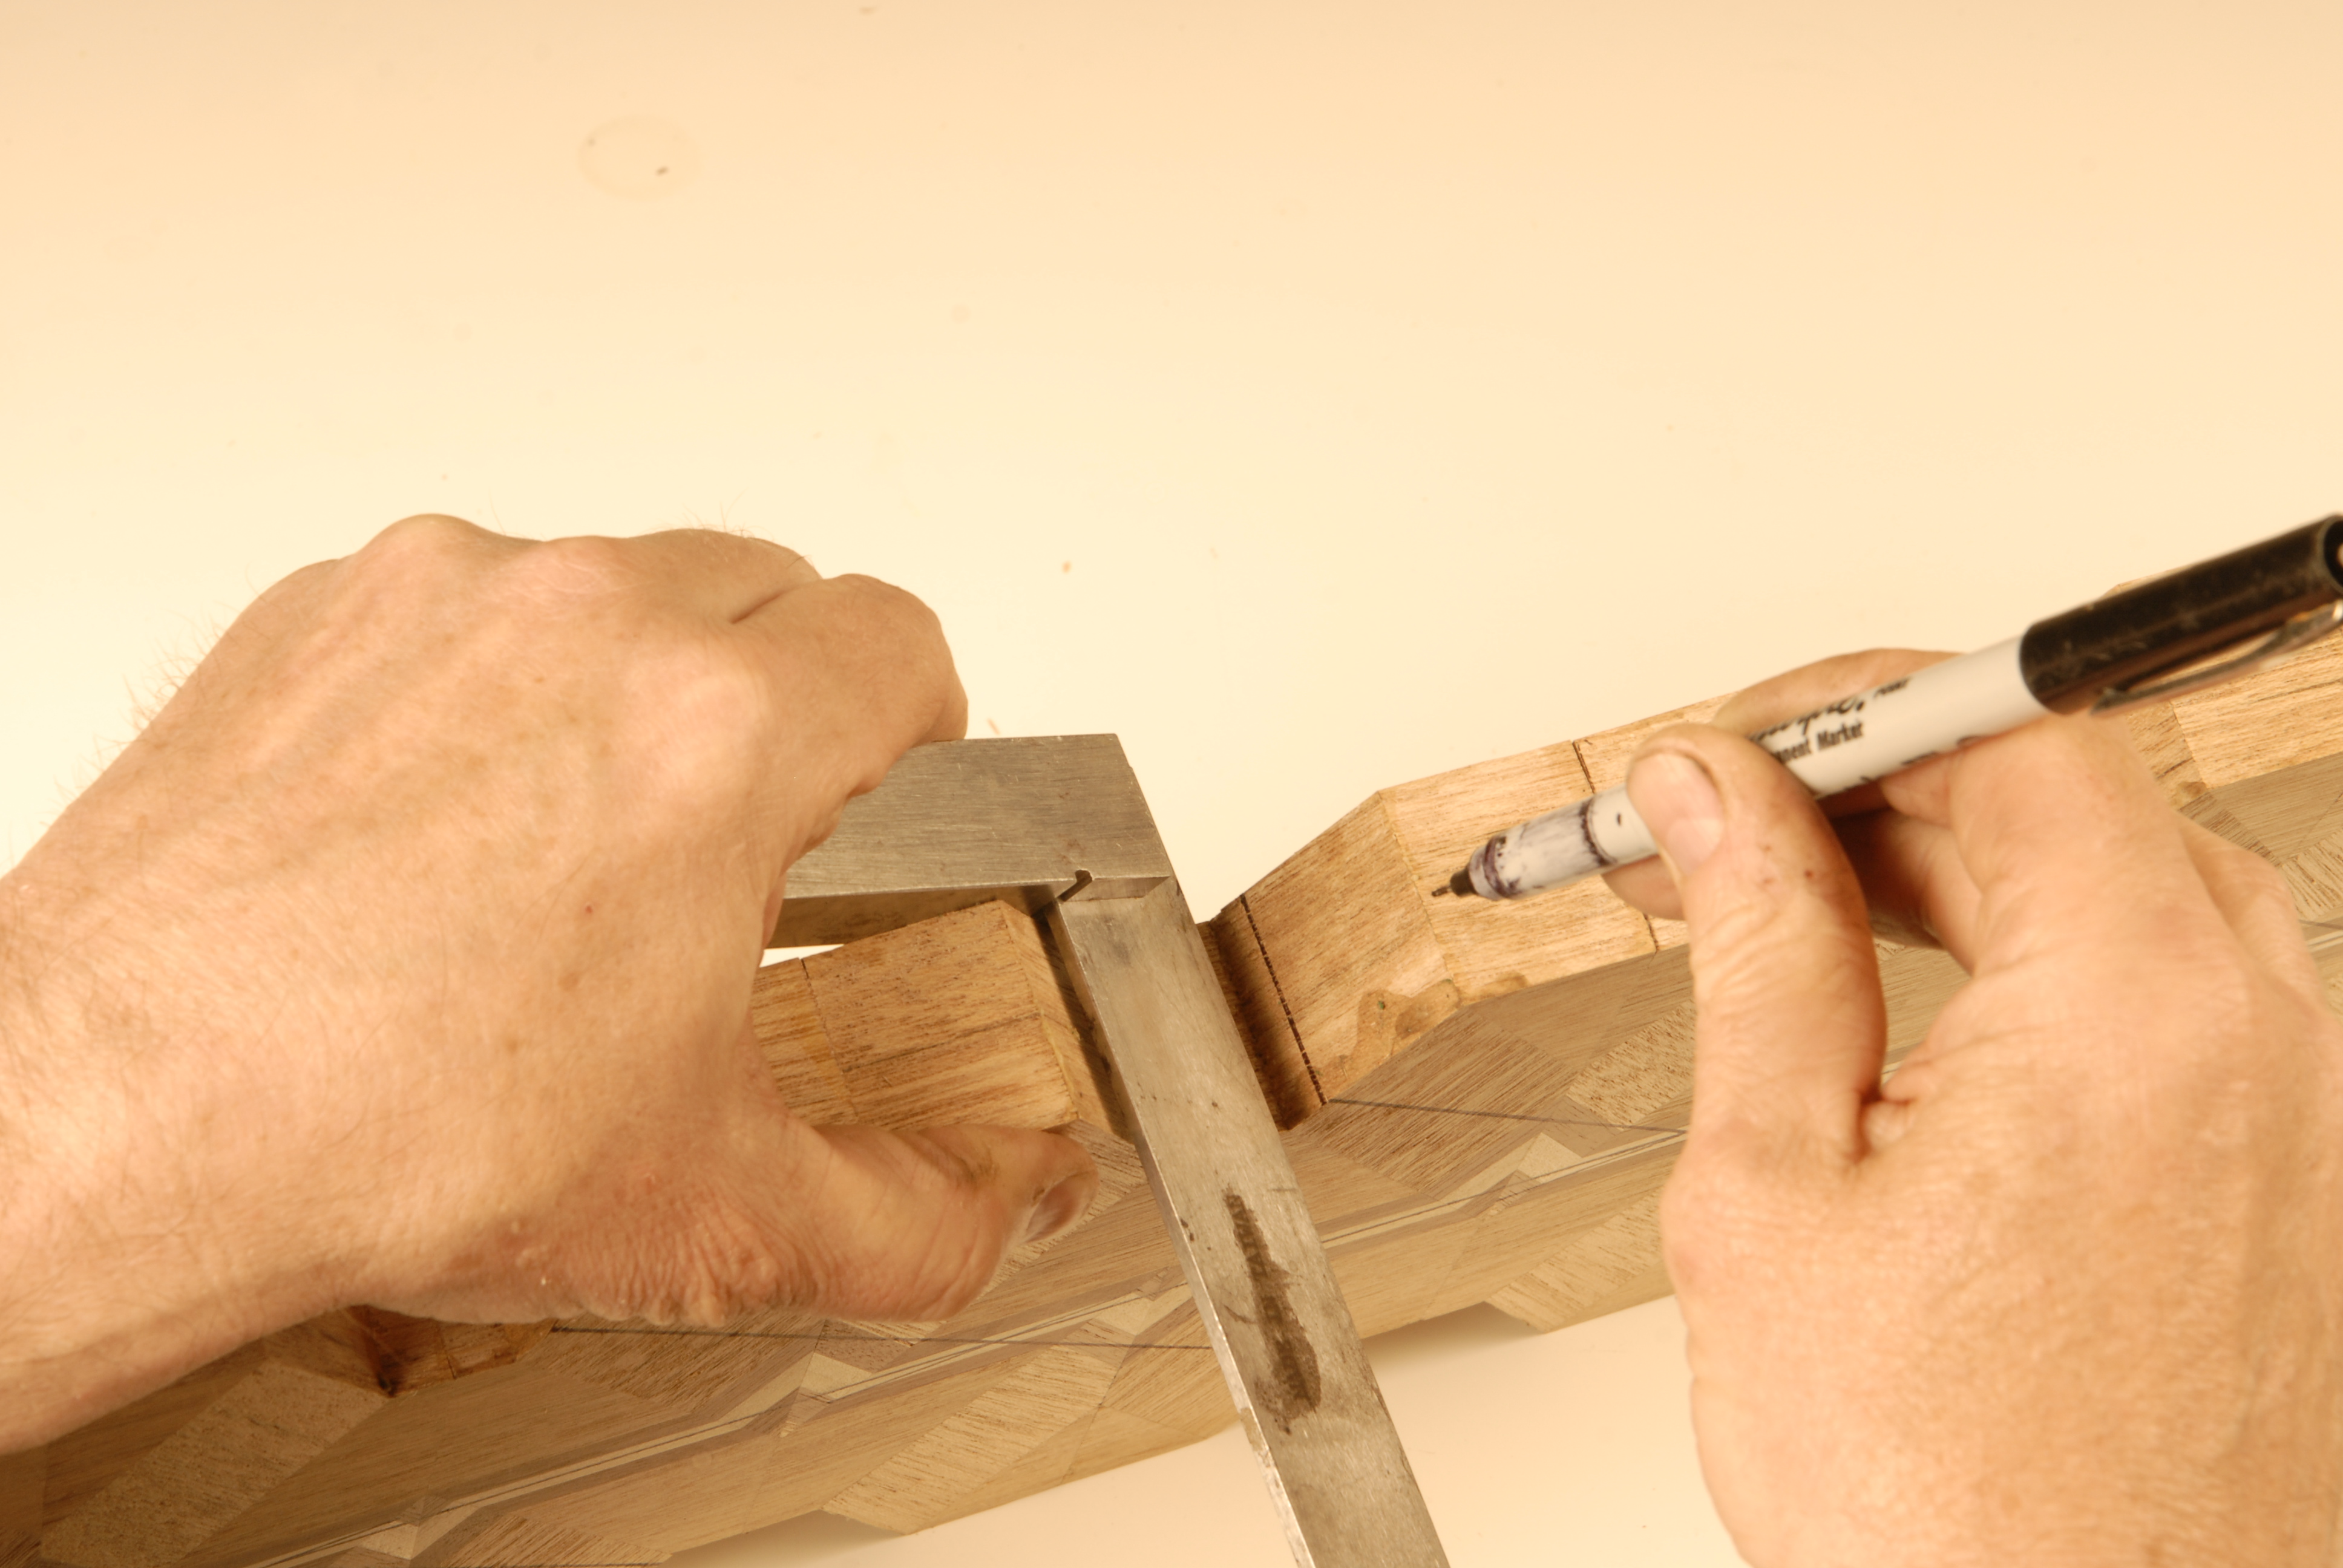
By transferring the line to the board bottom we can align the cut precisely.
By transferring our line off the top of our board on both its front and rear, to its bottom it will be easy to align our line to the edge of the jig and therefore the location of the blade.
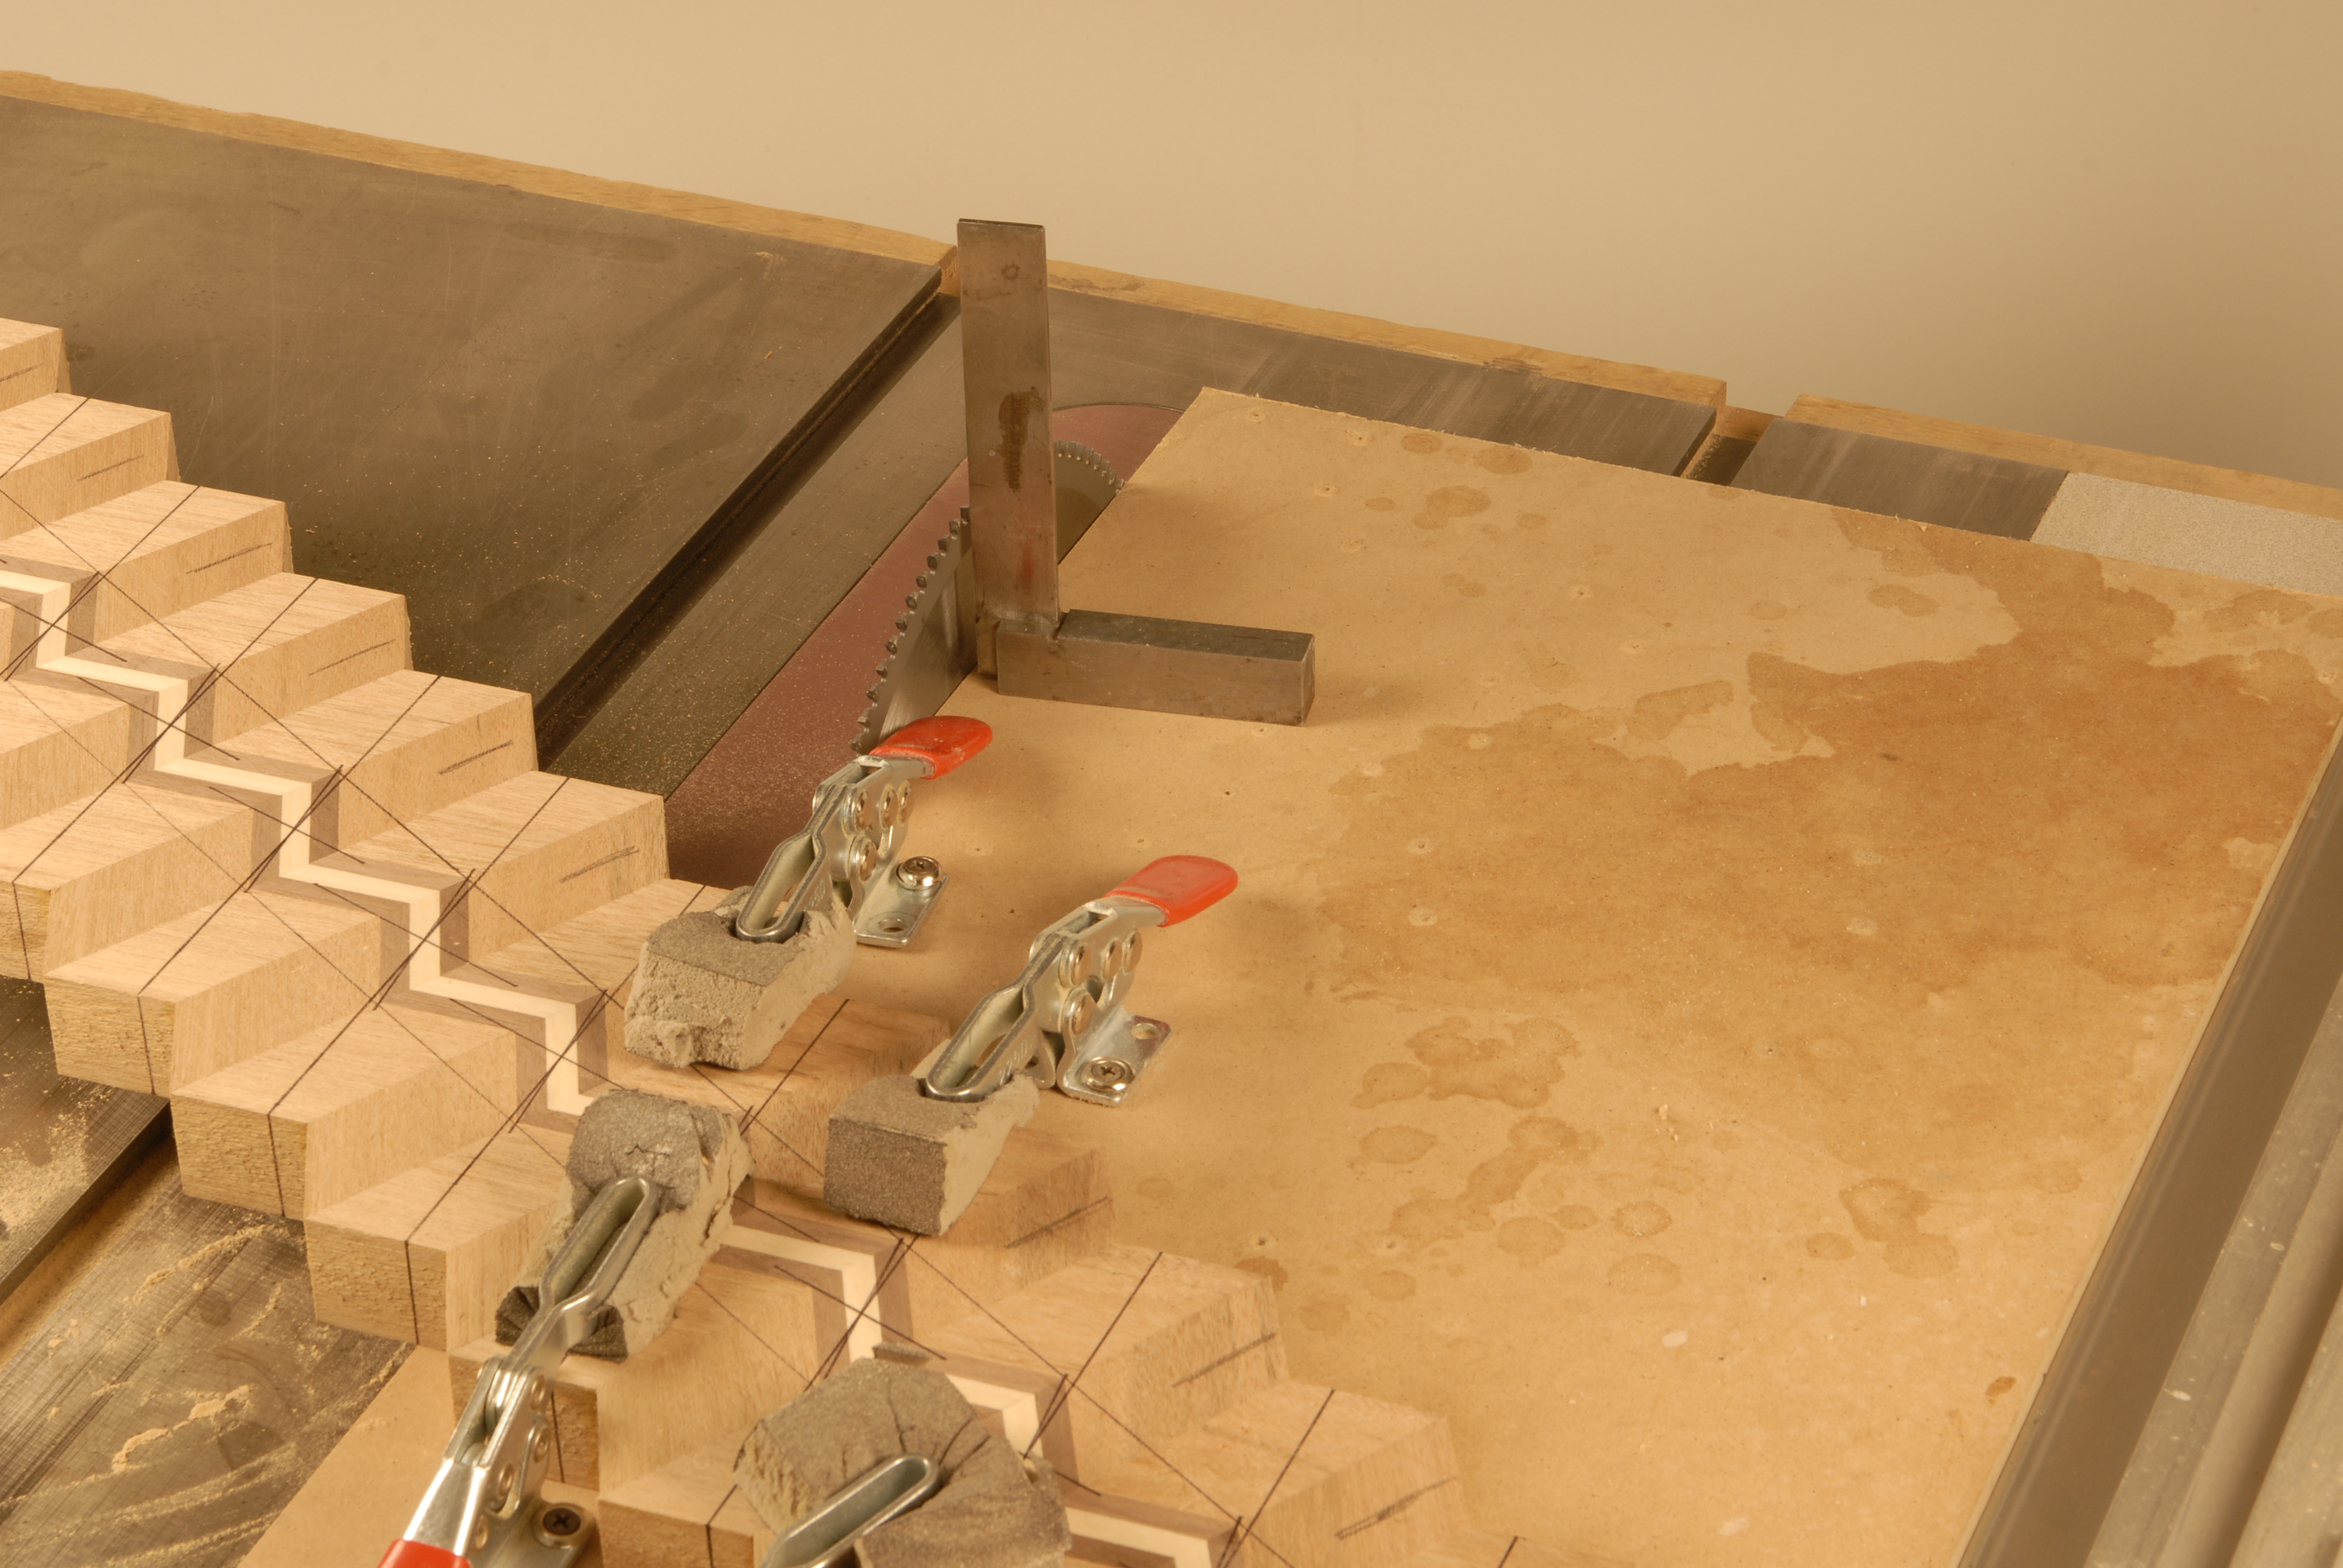
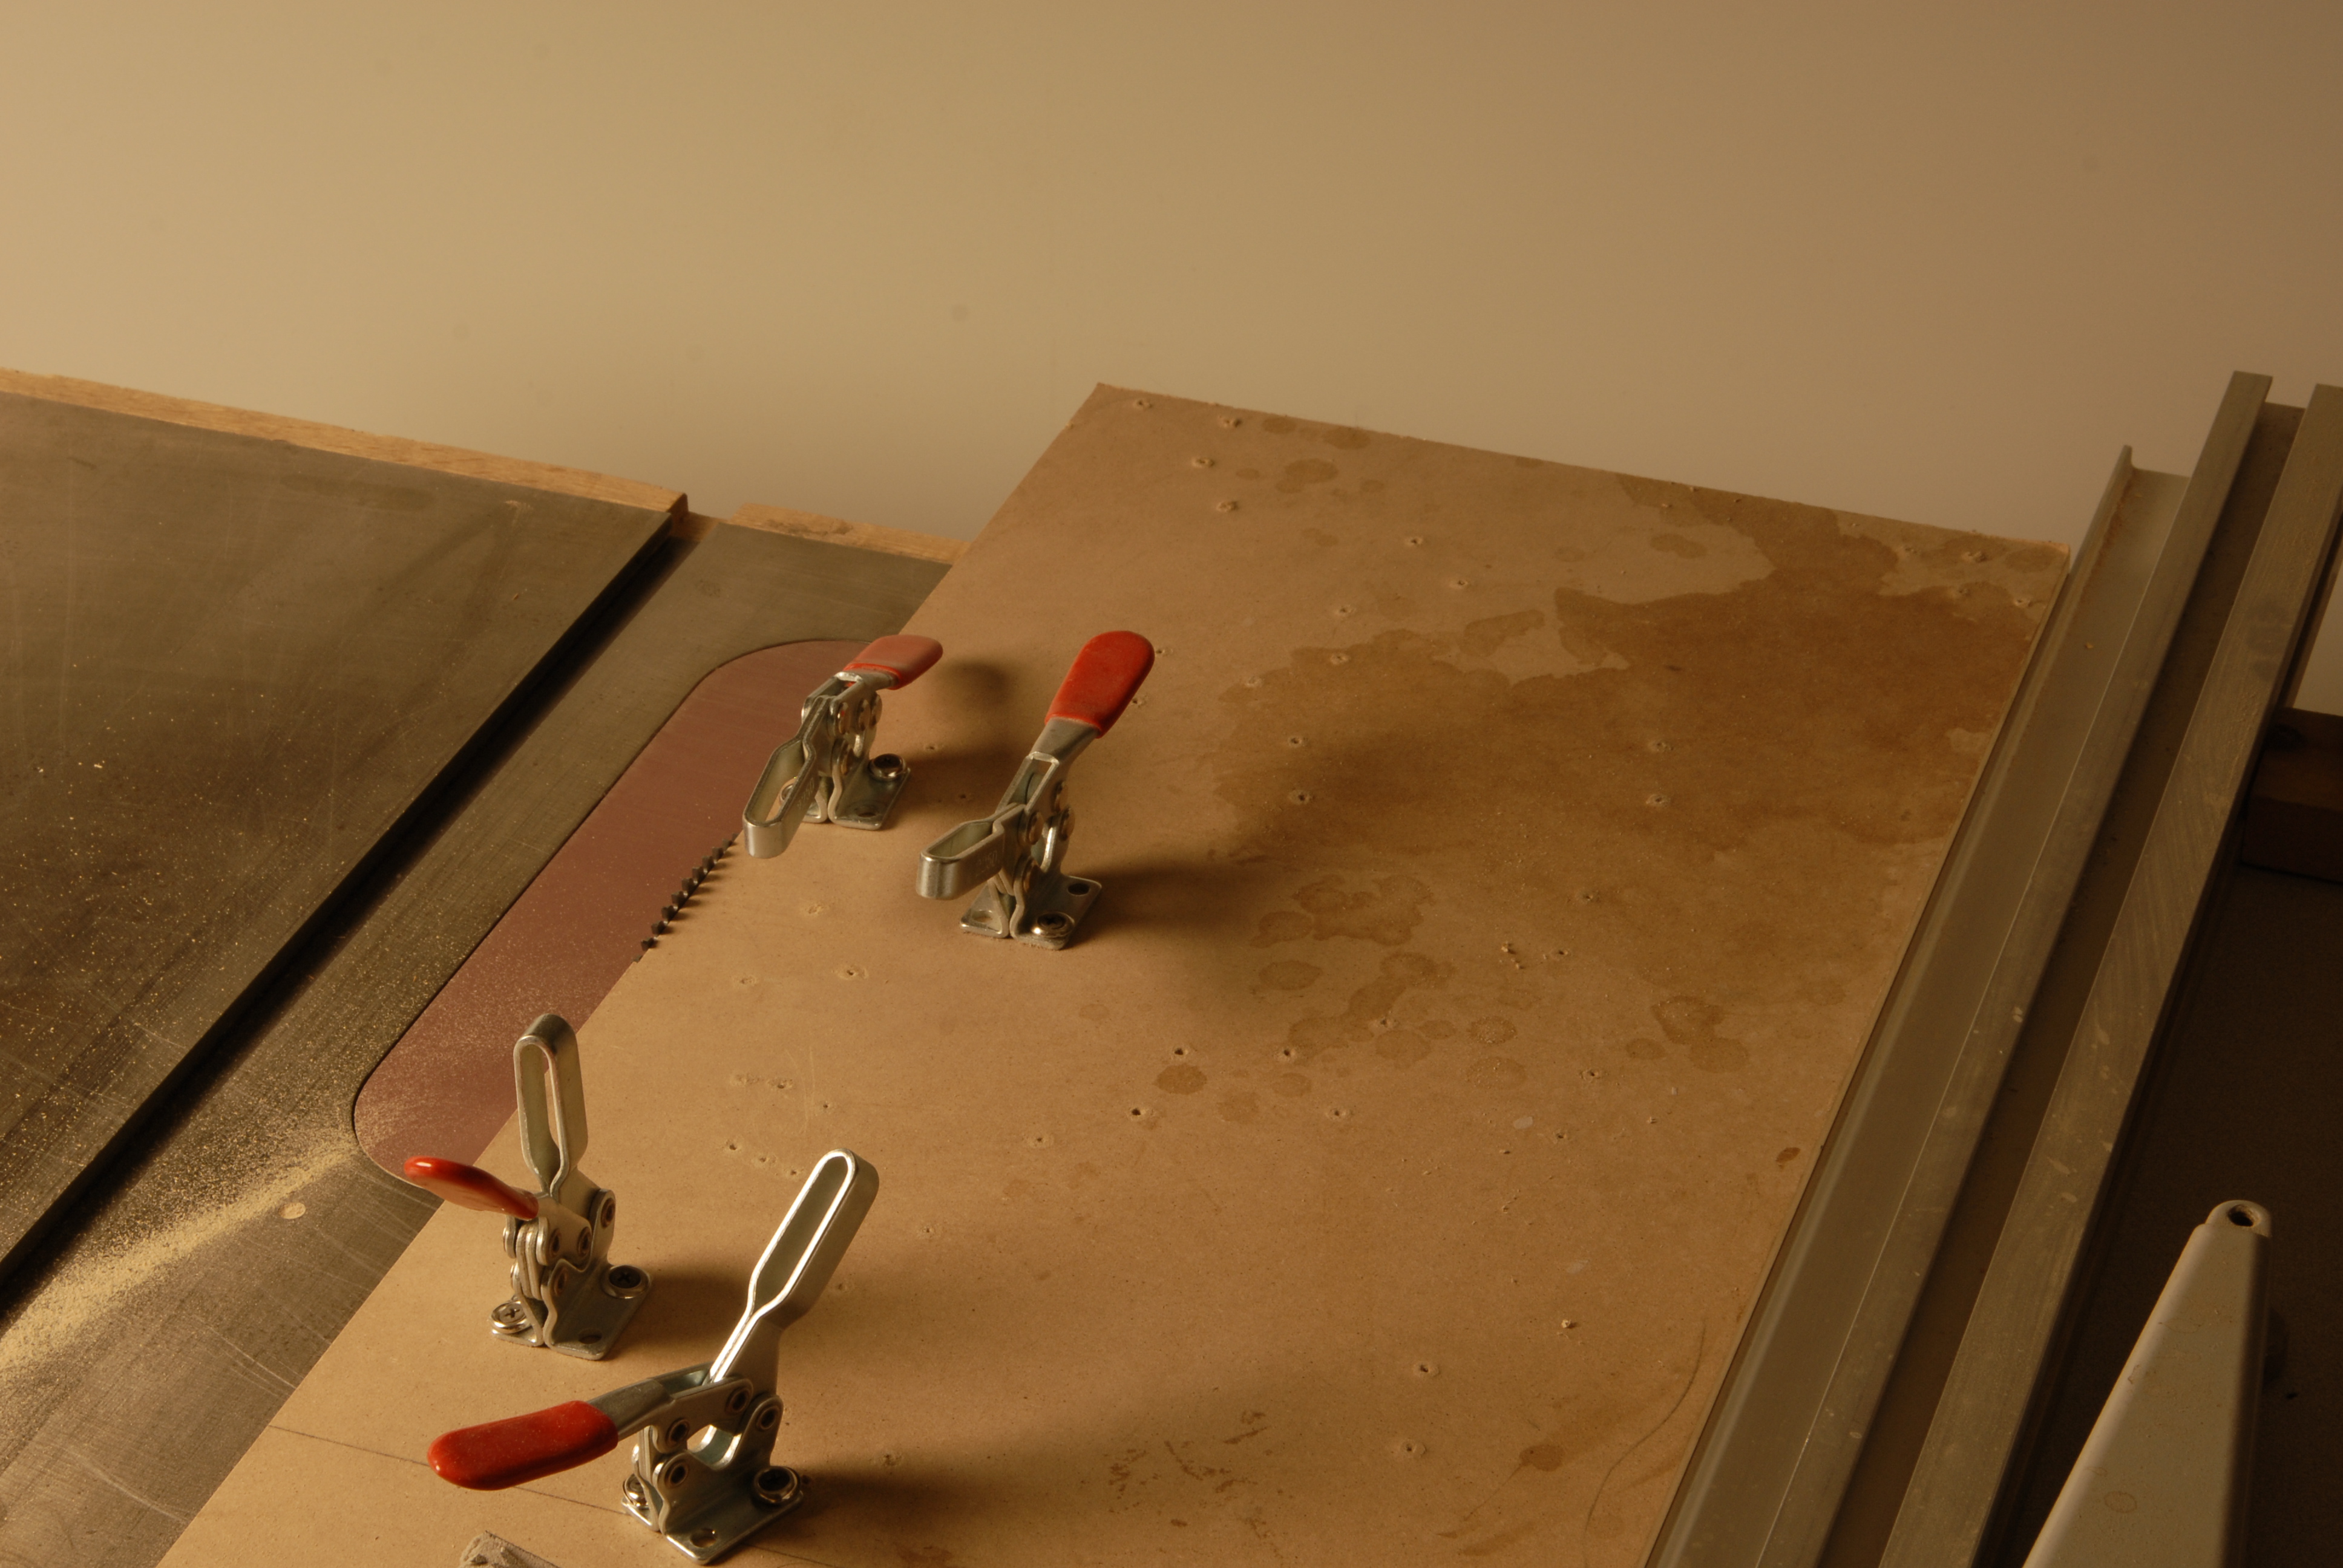
Alignment of the blade to a true 90 degrees and alignment of the bottom line to the jig edge is vital.
Our blade is checked and rechecked for its 90 degree accuracy. Also in the bottom left corner notice the line on the design board is aligned carefully with the jig edge. Also, I use cut up pieces of sponge sanding blocks to help the hold down clamps hold the piece firmly.
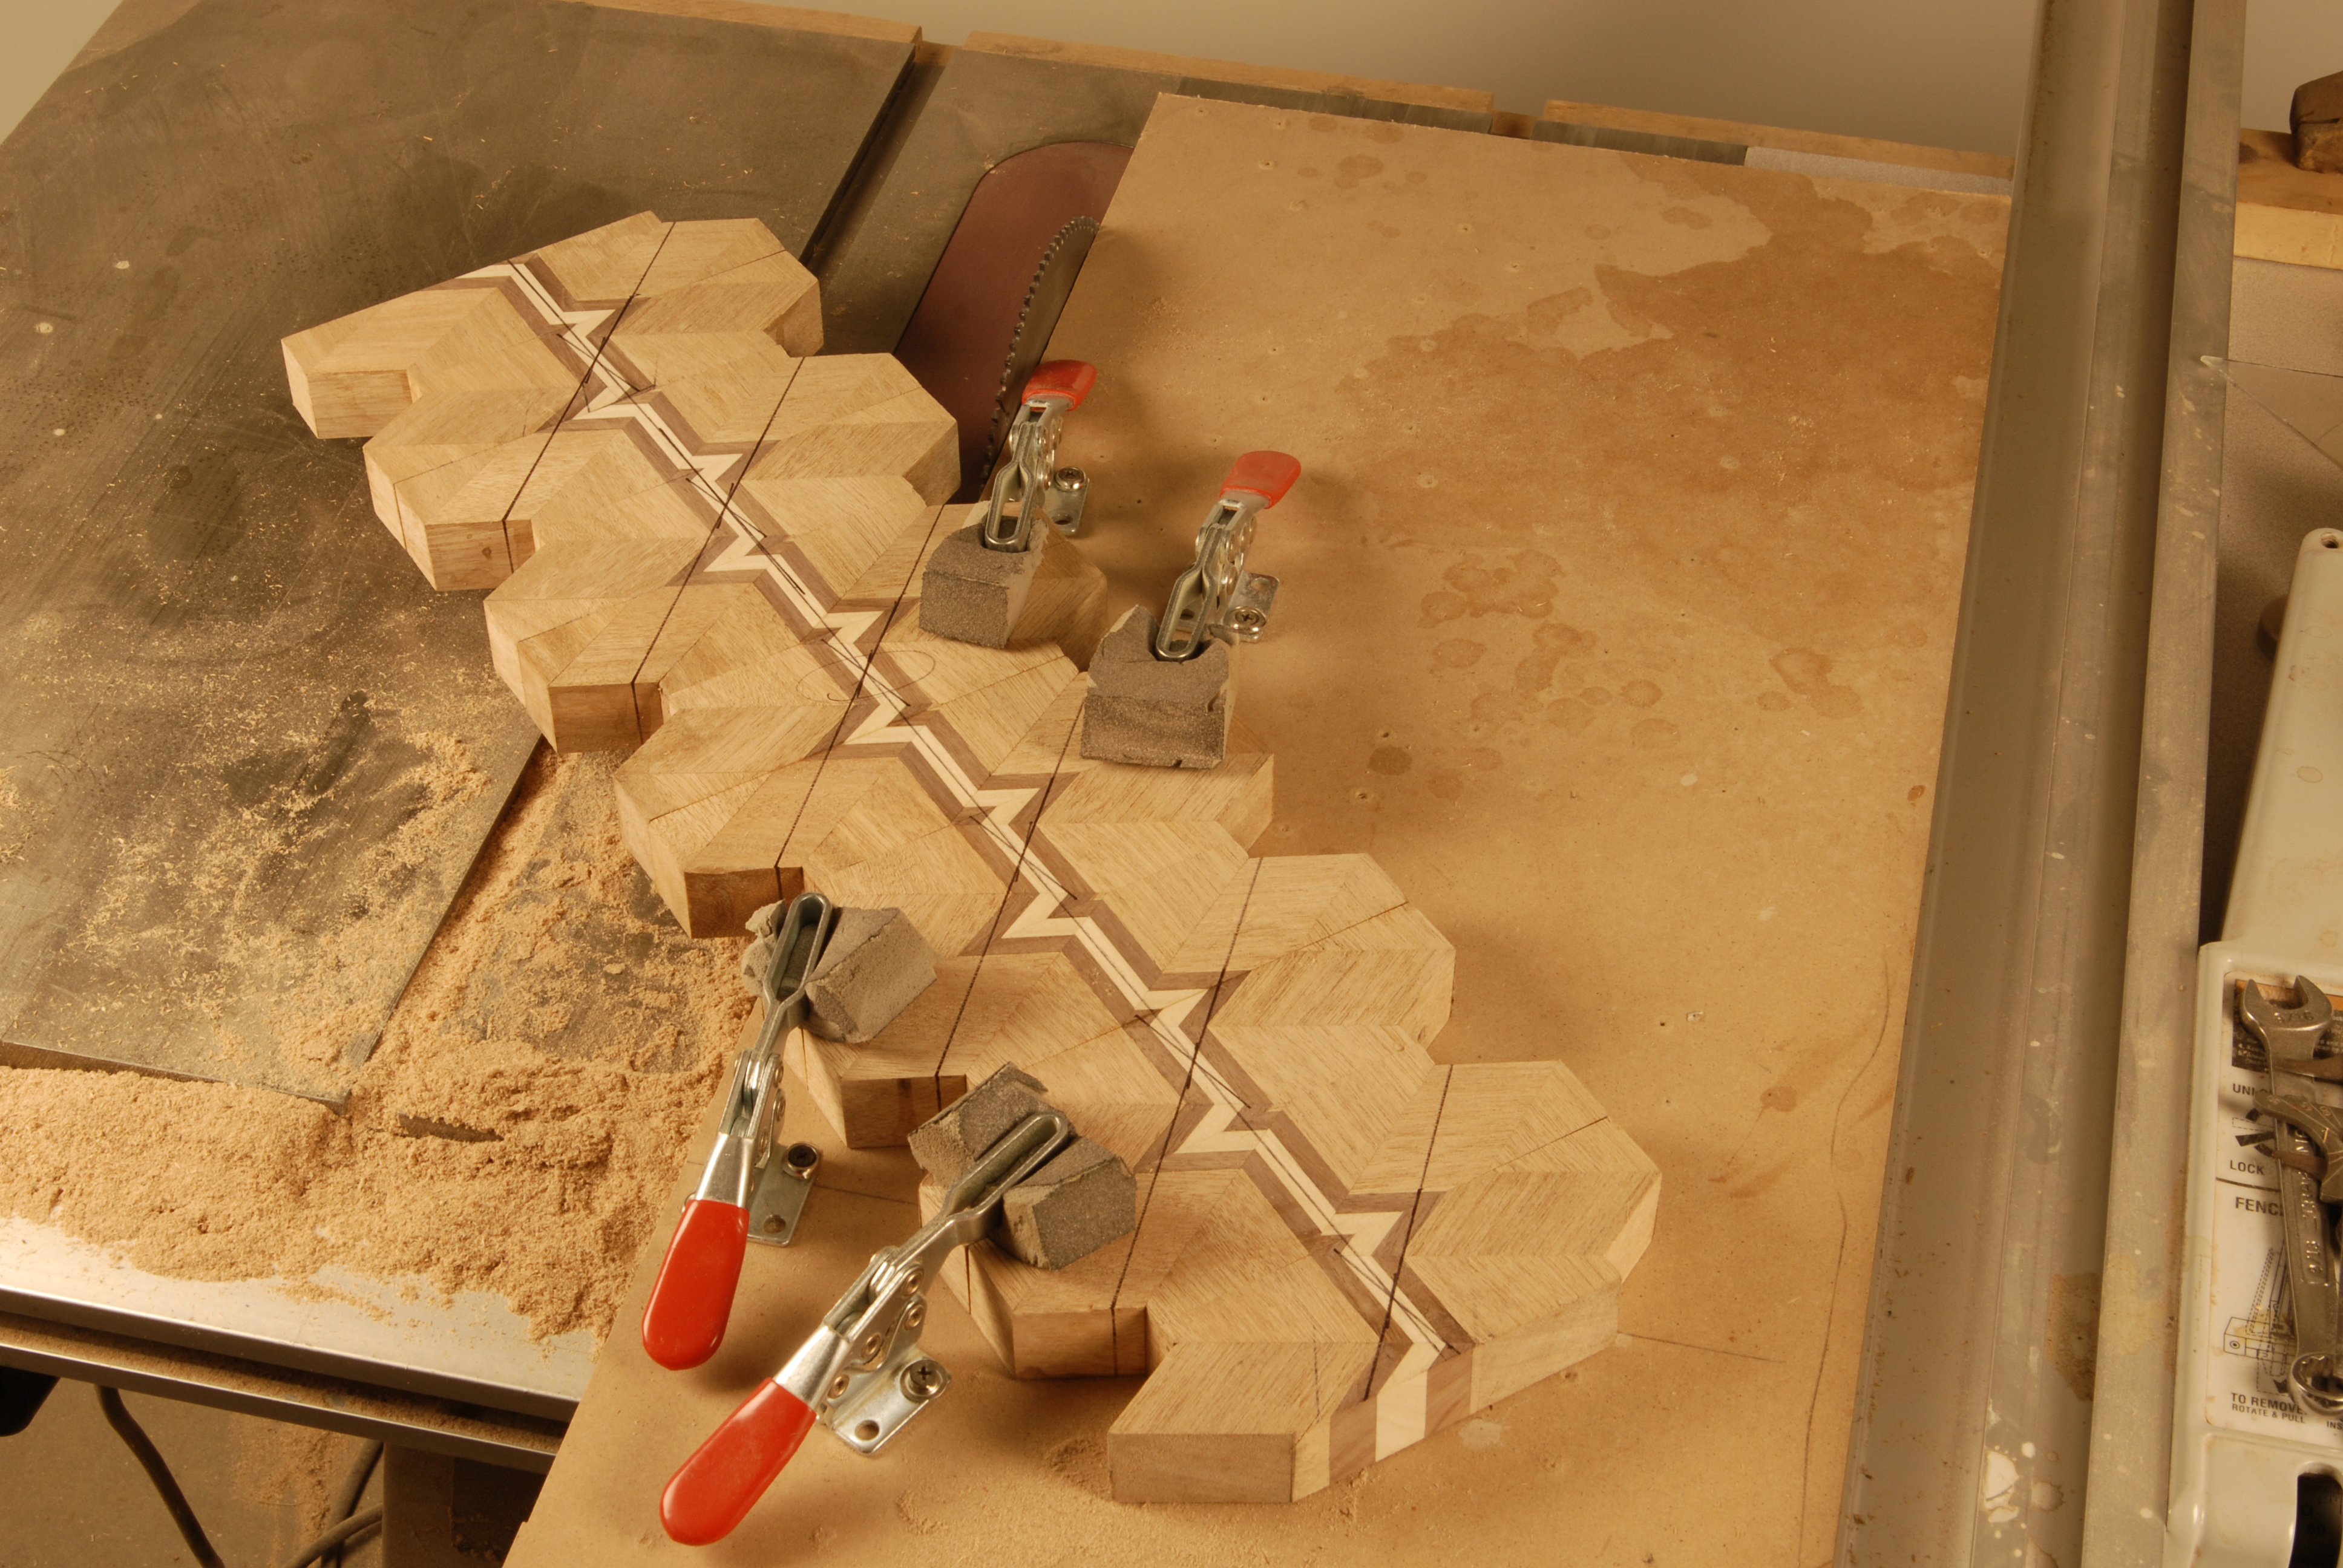
blade fallows the lines
Care is taken with each cut, watching how the blade interacts with the top line. If it was aligned properly our cut should be directly above the jig edge and fallow our top line.

slow even consistent pushing
Care should be taken to have a slow consistent push of the material into the blade. I use extra hold down clamps as handles.
This had been the long way of saying something that is really quite simple and intuitive. This jig helps me get great results and keeps my fingers away from the blade. Try it , and I think you will agree.
Yours in wet glue.
Steve